|
1.概述 在GIS工作中, 难免会涉及到各种形式的数据之间相互转换,比如本例中要讲到的线和面要素节点坐标的获取。 在获取坐标的过程中,最关键的步骤就是将面和线要素转换为点要素,创建包含从输入要素的指定折点或位置生成的点的要素类,再去获取点要素的坐标。 这里,我们就详细介绍一下如何获取SHP文件节点坐标。 2.数据来源本教程所使用的数据均是从微图中获取,常见的GIS数据都可以从微图中下载,微图软件如下图所示。 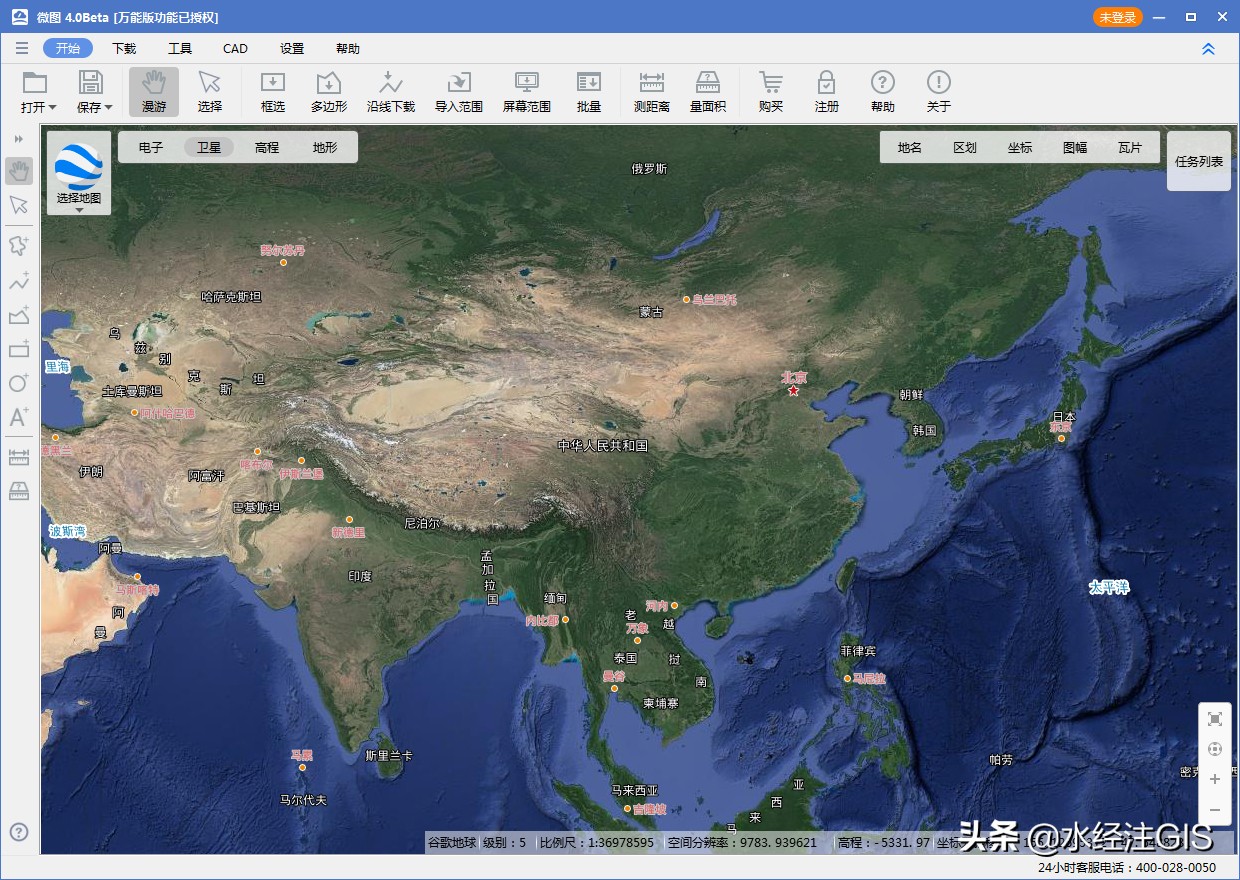 微图
(关注微信公众号“水经注GIS”私信回复"微图"获取微图软件安装包) 微图软件的相关文档教程,请参阅: 3.获取线节点坐标在ArcToolbox中点击"数据管理工具\要素\要素折点转点",调用要素折点转点工具。 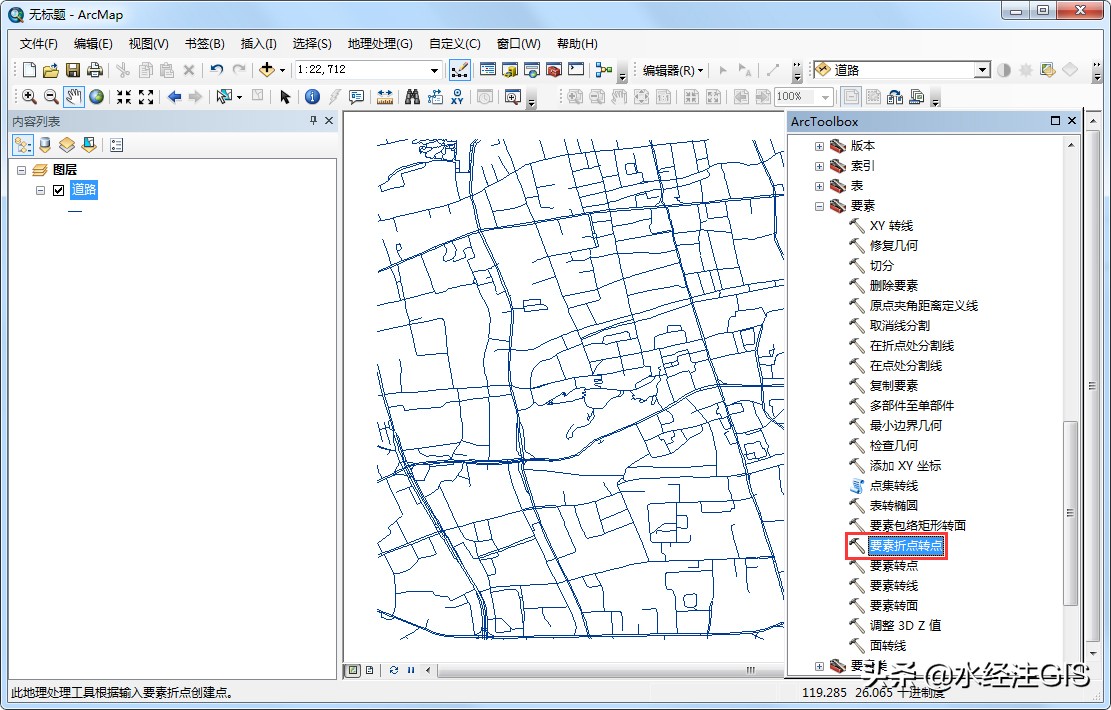 调用要素折点转点工具
在显示的要素折点转点对话框内,输入要素为需要转换折点的线状要素,如下图所示。 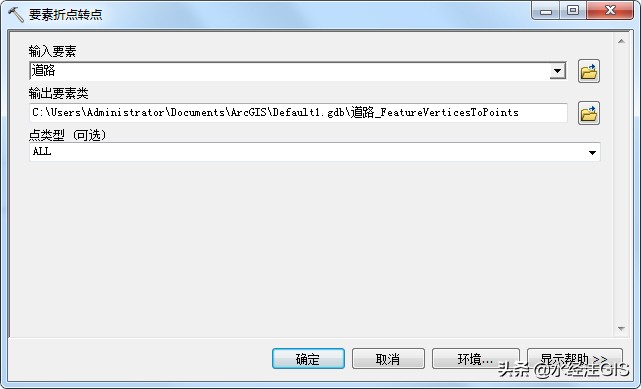 要素折点转点设置
点击确定之后可以得到道路的折点,如下图所示。 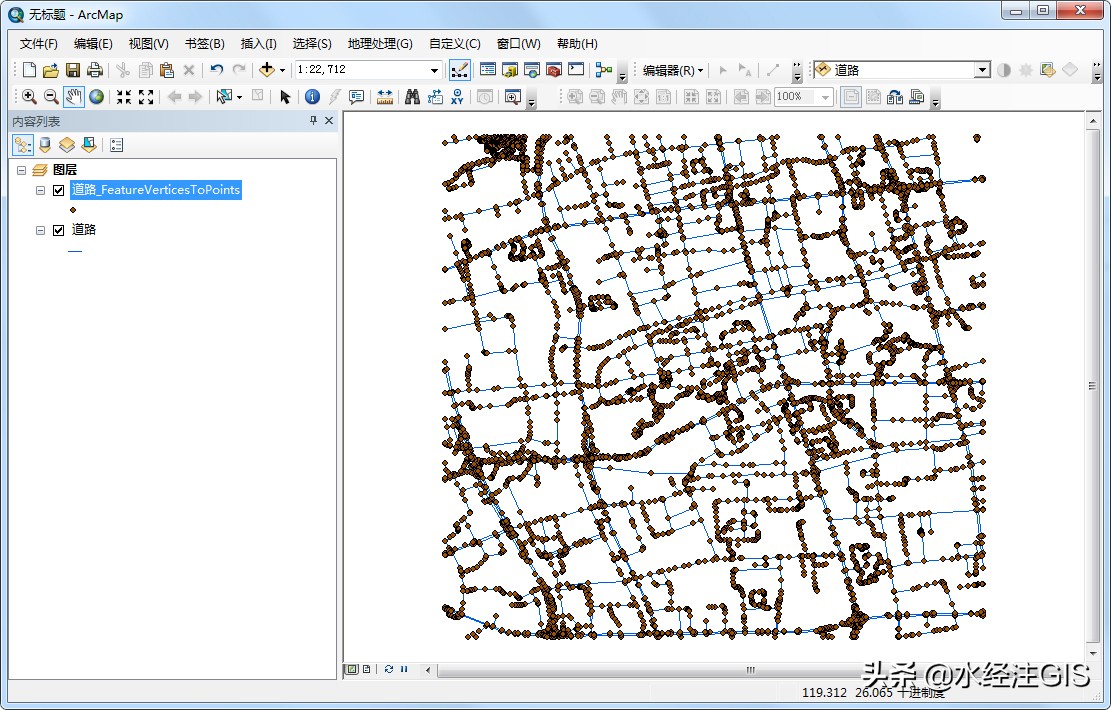 道路折点
在ArcToolbox中点击"数据管理工具\要素\添加XY坐标",调用添加XY坐标工具。 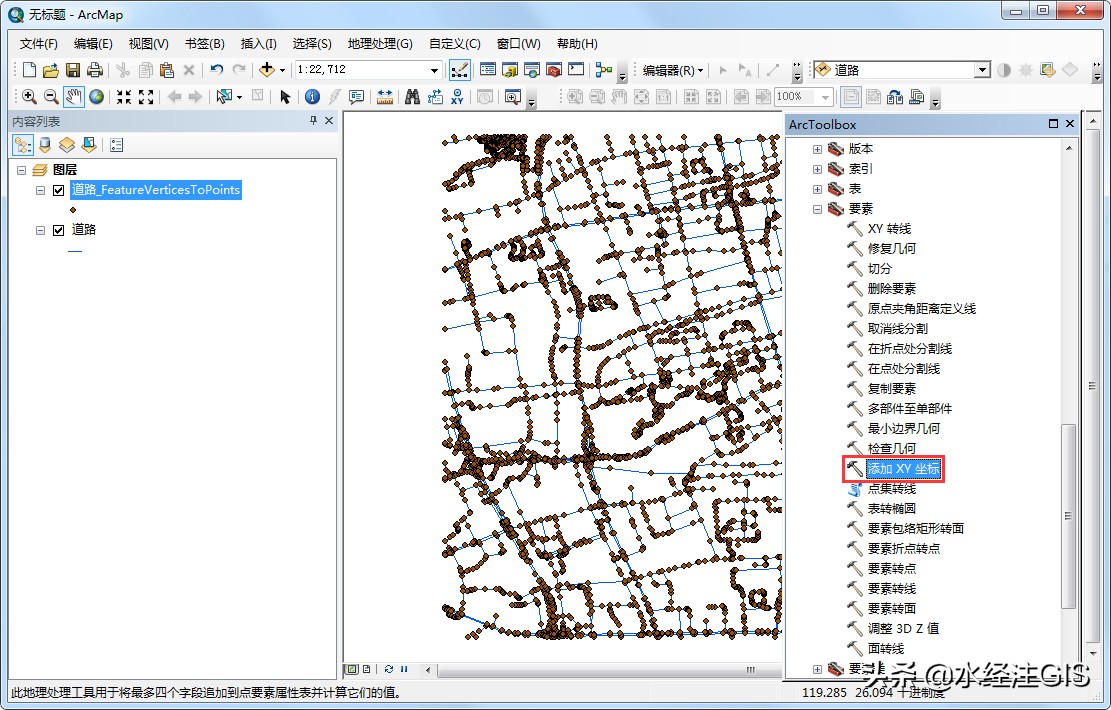 调用添加XY坐标工具
在显示的添加XY坐标对话框内,输入要素为上一步得到的点要素。 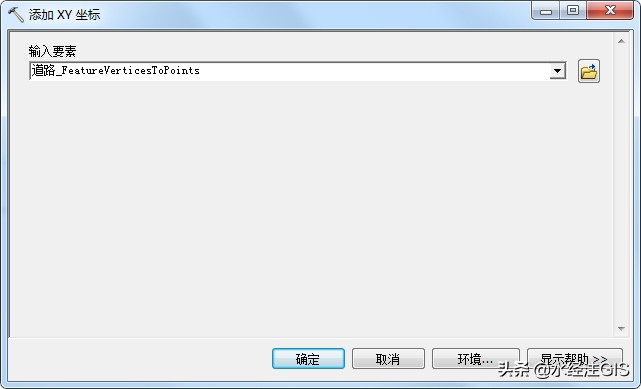 添加XY坐标设置
点击确定即可将点坐标添加到属性表内,现在可以打开属性表查看。 在折点图层上点击右键,选择打开属性表。 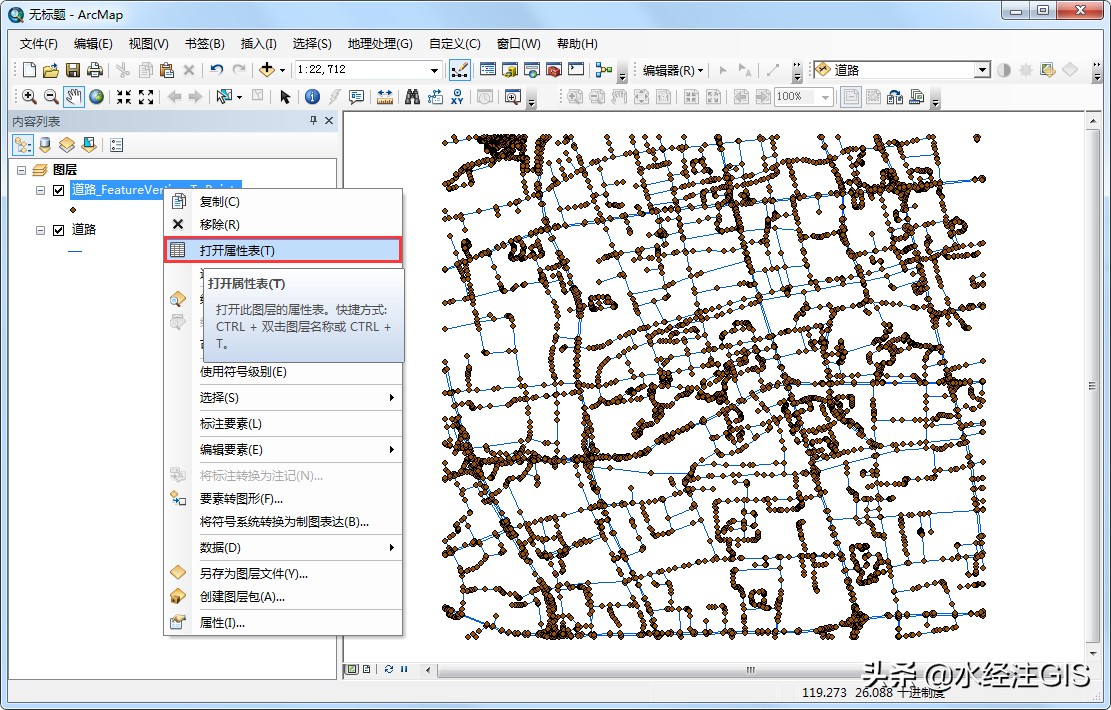 选择打开属性表
在打开的属性表中可以看到,XY坐标已经添加进了属性表,如下图所示。 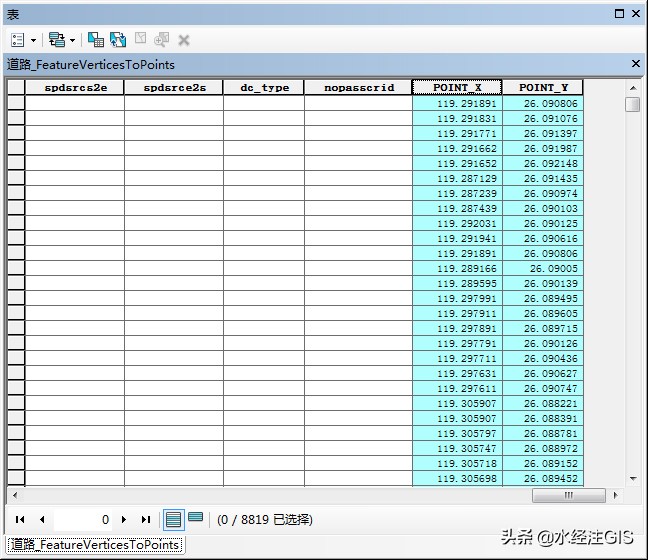 带坐标的属性表
除了使用添加XY坐标工具之外,也可以直接操作属性表添加坐标。 在属性表的左上角点击一下,选择添加字段。 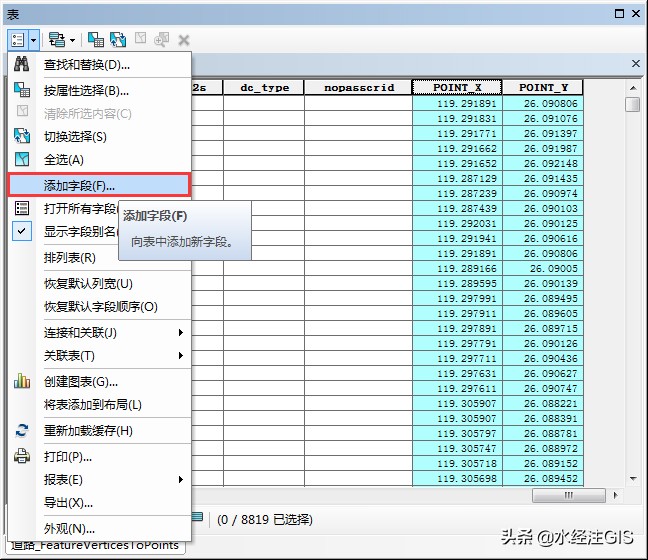 选择添加字段
在显示的添加字段对话框内,新建一个名为X的字段。  新建X字段
点击确定之后可以看到属性表内已经增加了名为X的字段,如下图所示。 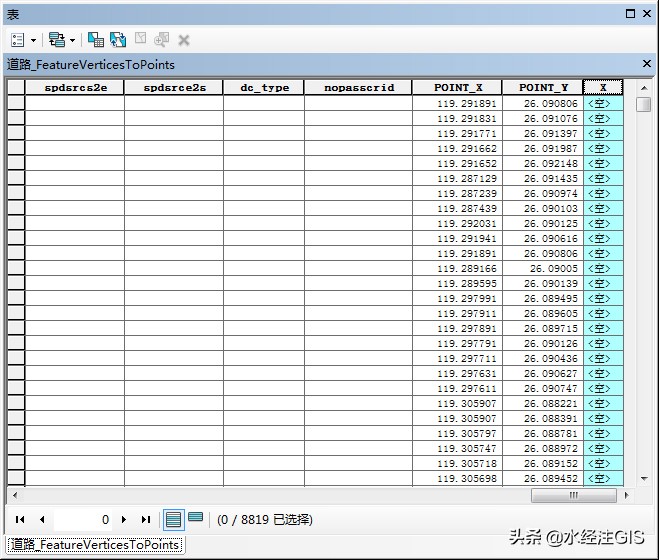 新建的X字段
同样的方法,再新建一个名为Y的字段,如下图所示。 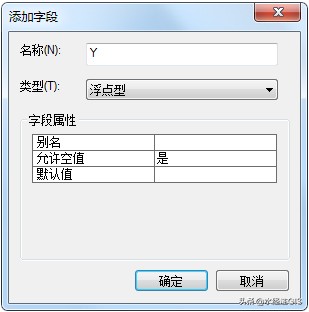 添加Y字段
点击确定之后完成XY字段的新建,如下图所示。 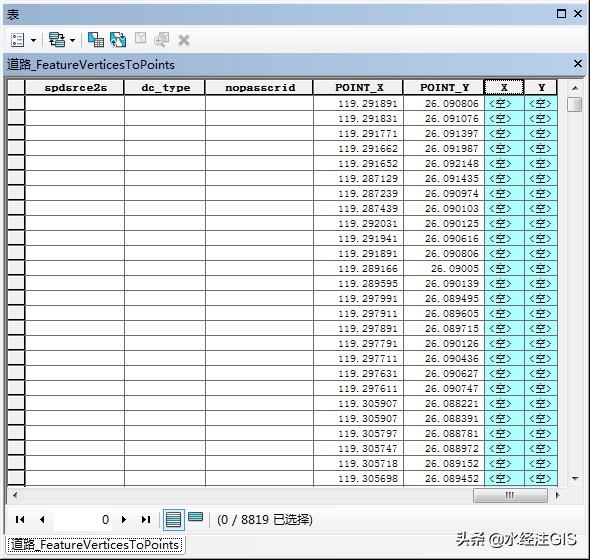 新建的XY字段
选中X字段,点击右键,选择计算几何,如下图所示。 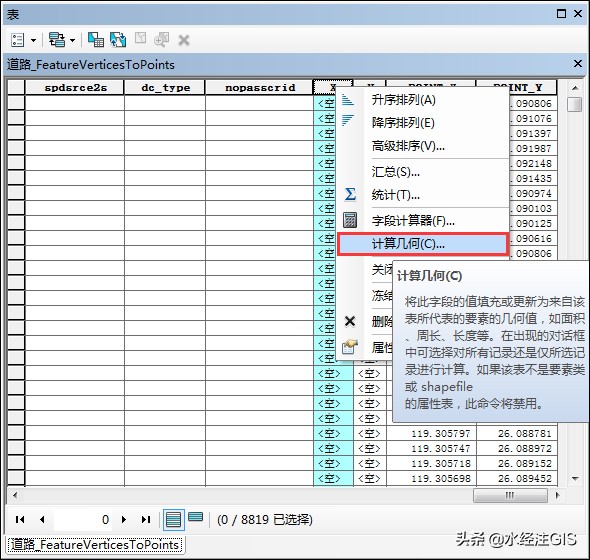 选择计算几何
在显示的计算几何对话框内,属性选择点的X坐标,如下图所示。 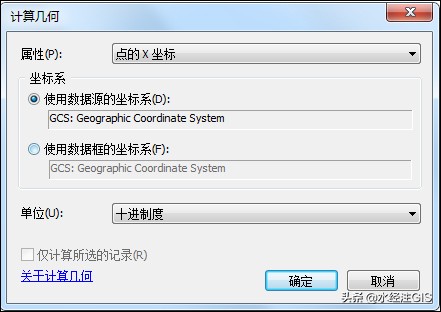 计算几何设置
点击确定之后可以得到点的X坐标,如下图所示。 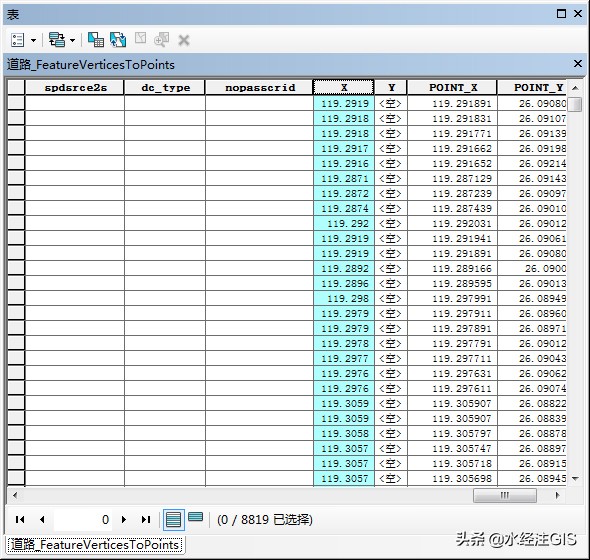 得到的X坐标
同样的方法,选中字段Y,点击右键,选择计算几何。 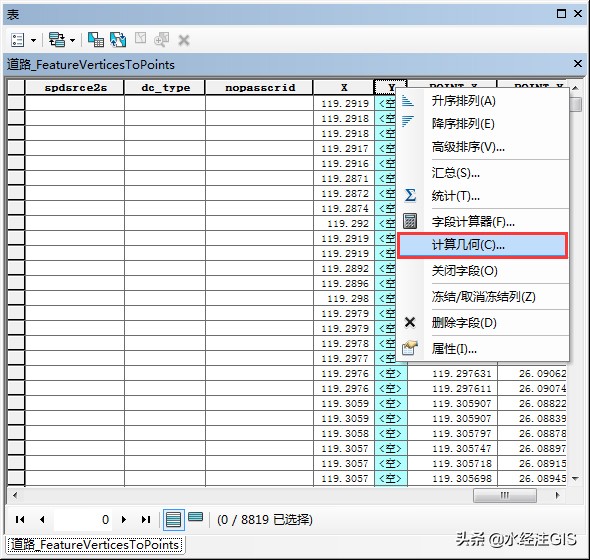 选择计算几何
在显示的计算几何对话框内,属性选择点Y坐标,如下图所示。 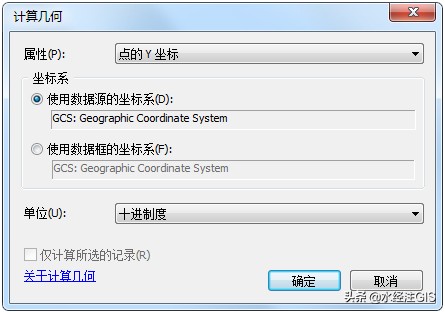 计算几何设置
点击确定之后可以得到点的XY坐标,如下图所示。 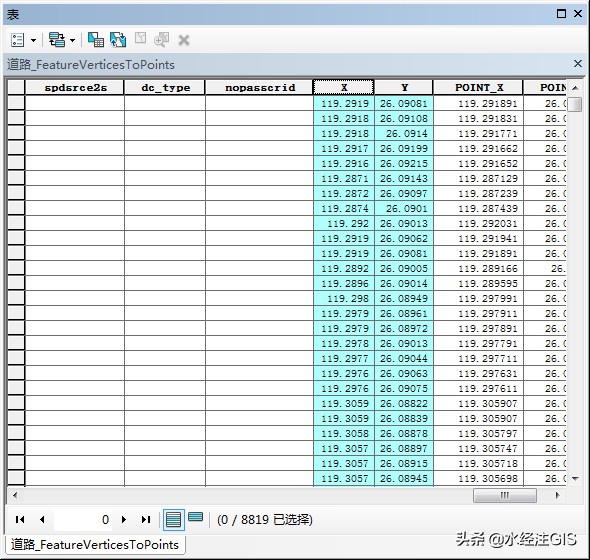 得到的XY坐标
4.获取面节点坐标获取面的节点坐标和获取线的节点坐标步骤基本一致,只是在转换为点的时候需要注意一下,不要选择要素转点,也要选择要素折点转点。 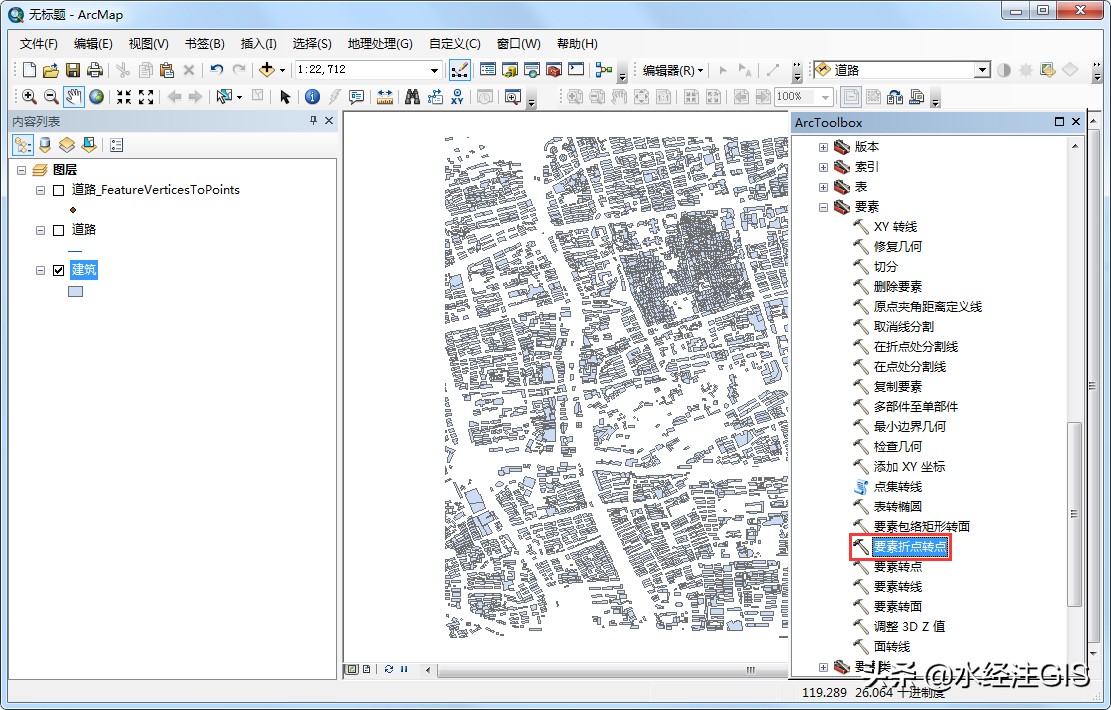 选择要素折点转点
这样转换之后得到的才是面状要素的折点,后面的步骤就和线状要素一样的操作方法。  面状要素折点
5.结语以上就是如何使用ArcGIS获取SHP文件节点坐标的详细说明,主要包括了数据来源、获取线节点坐标和获取面节点坐标等功能。 如果在使用过程中有任何疑问,请联系我们。 最后,如果您在工作中遇到与GIS相关的任何难题,请通过关注微信公众号“水经注GIS”私信留言给我们,我们将针对比较有典型性和代表性的问题提供解决方案,从而将我们"为您提供丰富的地图数据与专业的GIS服务"之宗旨落到实处!
| 


 雷达卡
雷达卡
 发表于 2020-9-17 10:37
 提升卡
提升卡 沉默卡
沉默卡 喧嚣卡
喧嚣卡 变色卡
变色卡 抢沙发
抢沙发 显身卡
显身卡


.gif)
.gif)


 :mg谢谢楼主分享,涨姿势啦~
